Showing posts with label hair. Show all posts

Saturday, February 16, 2013

Favorite Bangs Tutorials {even if you don't have Bangs}

Photobucket
photo by theshineproject

Bangs are just amazingly stylish and I find myself contemplating a new hairdo involving some beautiful bangs quite often! For this week I collected my favorite bang tutorials, mostly updo's involving heavy straight bangs, sloppy locks or side swept bangs! and the best? A tutorial faking bangs! No scissors needed! I hope the tutorials inspire for a new do, or even some updo fun using clip on bangs! (yes! Clip on Fake Bangs do exist!)

xoxo


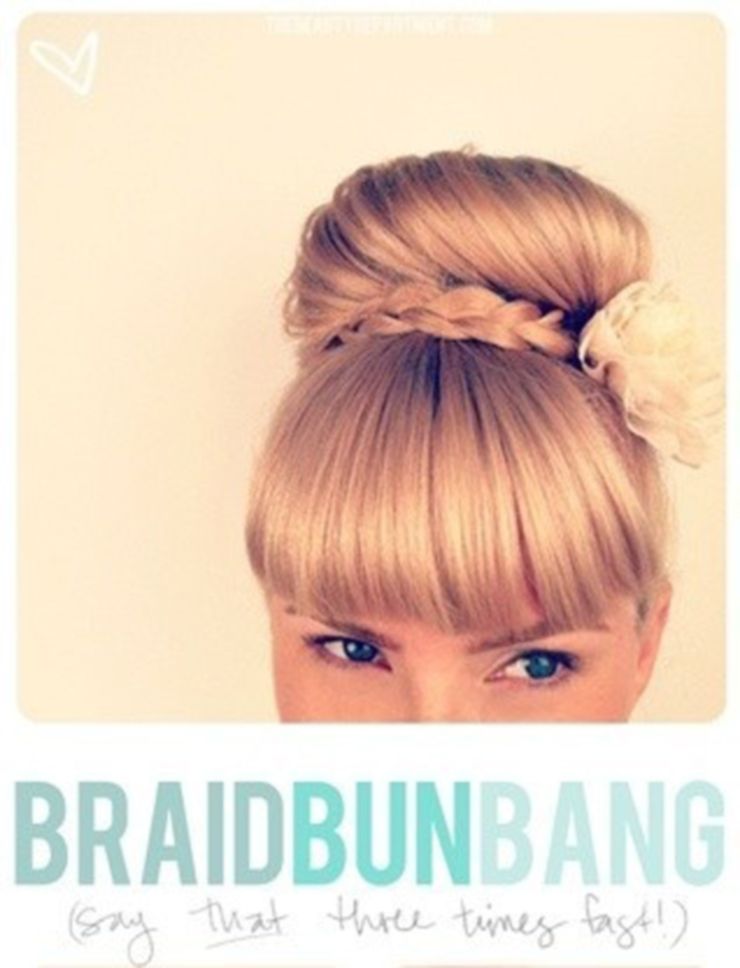
1) Braid Bun Bang

There is just something about full beautiful straight bangs! Every time I see lovely updo's like this I'm tempted to cut my hair and sport some bangs myself!

http://thebeautydepartment.com/2012/06/updo-bangs/Photobucket


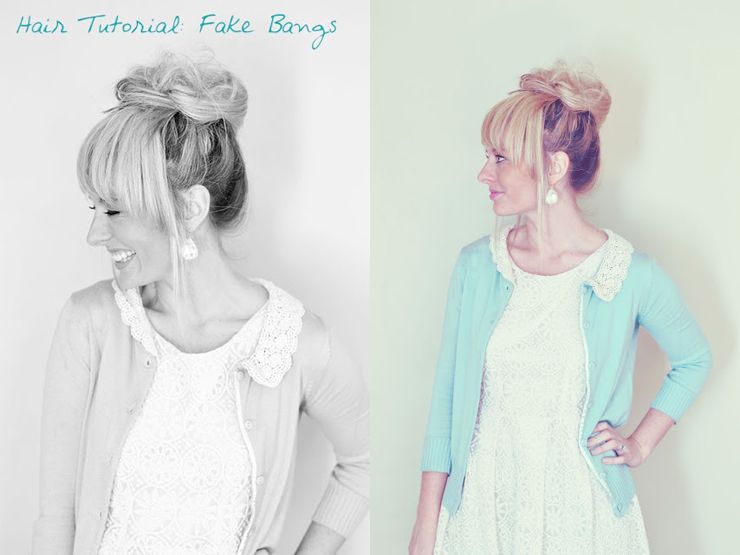
2) Fake Bangs

Even for those, like me who have no bangs and would love to sport a gorgeous updo like this from time to time without actually cutting bangs there is hope! This tutorial shows how to fake bangs! Totally awesome!

http://www.myshineproject.com/2013/01/hair-tutorial-fake-bangs.html

Photobucket


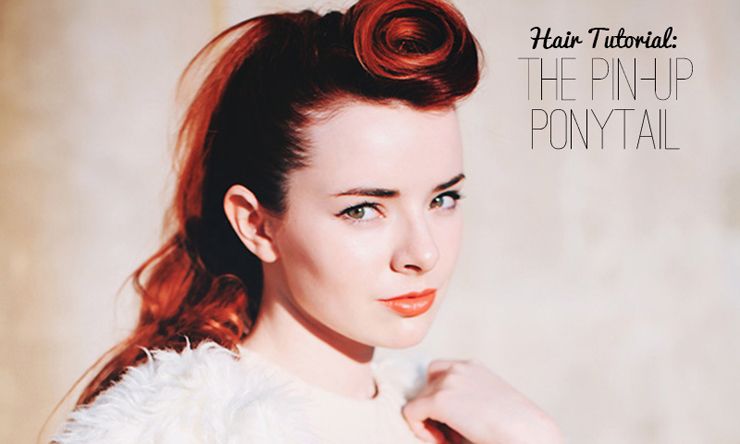
3) The Pin-Up PonyTail

Not really bangs but somehow pin-up hair-styles always give you that "having-bangs" feeling! 

http://seaofshoes.typepad.com/sea_of_shoes/2012/12/hair-tutorial-the-pin-up-ponytail.html
Photobucket


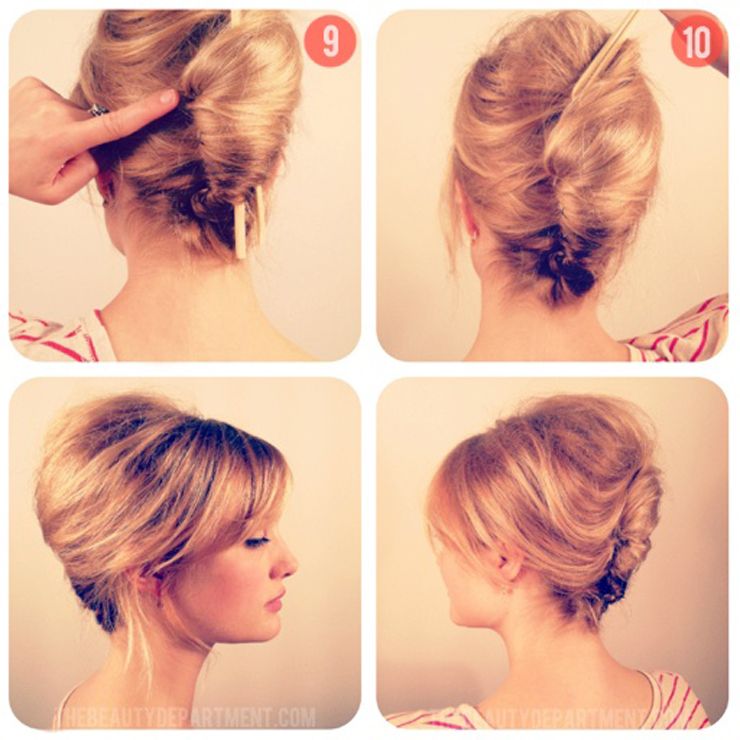
4) A Fine Frenchy

Side swept bangs are perfect for updo's and this updo is one of my favorites! I don't really have bangs myself but my front locks are just a tit bit shorter then the rest of my locks so it's easy to create that feeling of having side-swept bangs even that I don't! Sometimes I even curl my front locks more making them look shorter and thus creating that side swept bang look and feel!

http://thebeautydepartment.com/2012/08/a-fine-frenchy/
Photobucket


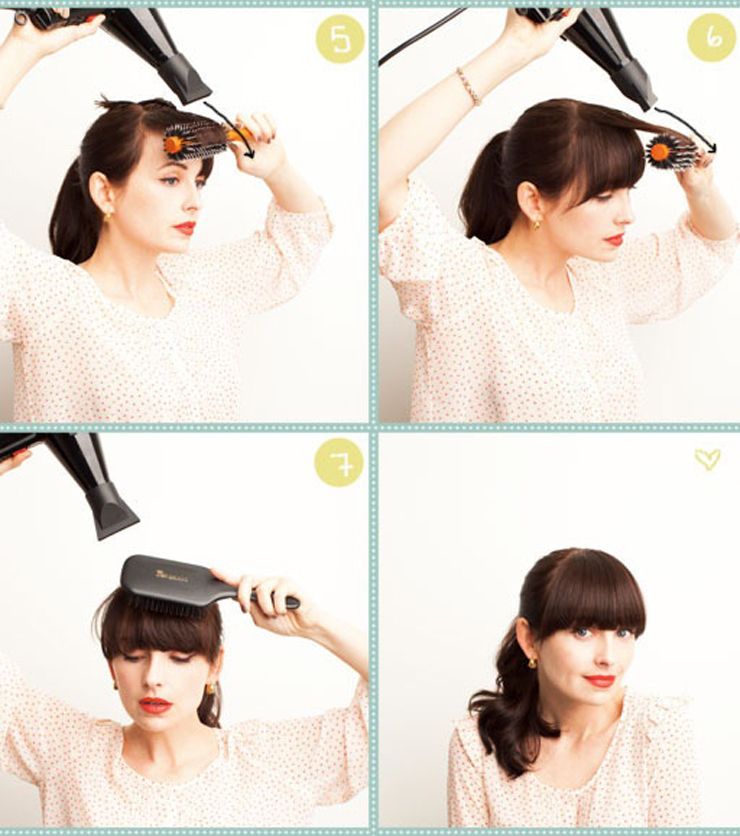
5) Blow Drying Heavy Bangs


For those of us having bangs or planning to cut bangs, trick of the trade would be styling them starting with a perfect blow dry, in that case this tutorial is a must!

http://thebeautydepartment.com/2012/01/blow-drying-heavy-bangs/
Photobucket


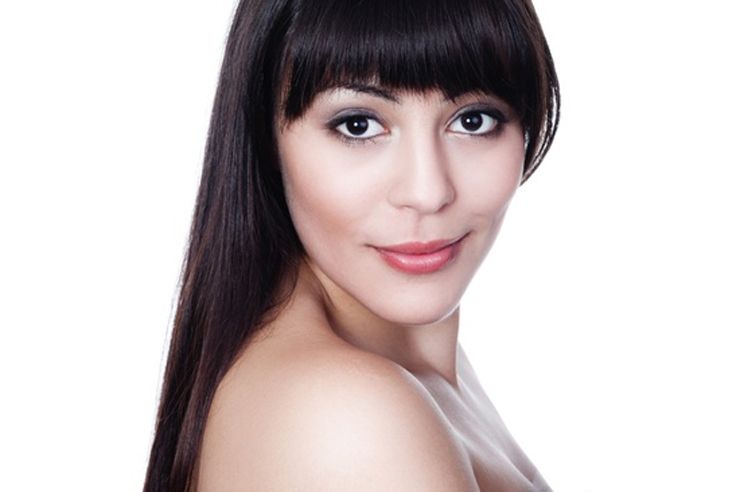
6) 5 Different ways to wear bangs

I love this video tutorial so much because it shows you amazing possibilities when it comes to bangs, making me even more jelly of everyone sporting them!

http://all4women.co.za/fashion-and-beauty/beauty-articles/hair-tutorial-five-ways-to-wear-a-fringe.html
Photobucket


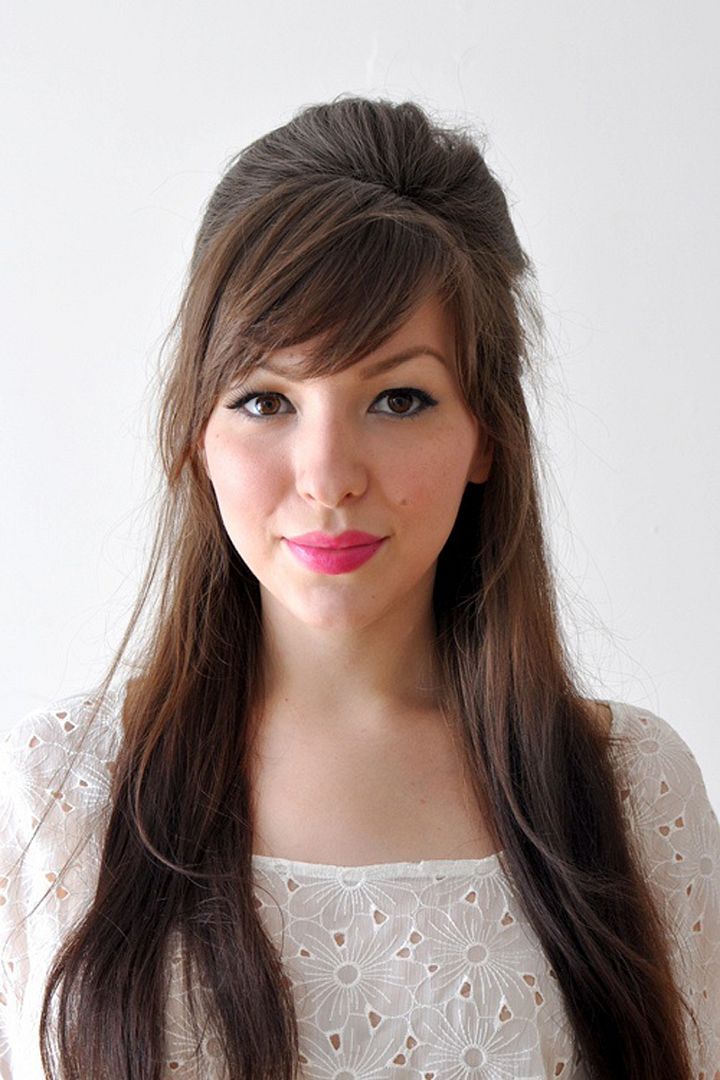
7) Keiko Lynn

Fellow blogger Keiko Lynn really knows how to sport side swept bangs and has many many amazing tutorials on her many many hairdo's!

http://www.keikolynn.com/search/label/hair%20tutorials
Photobucket


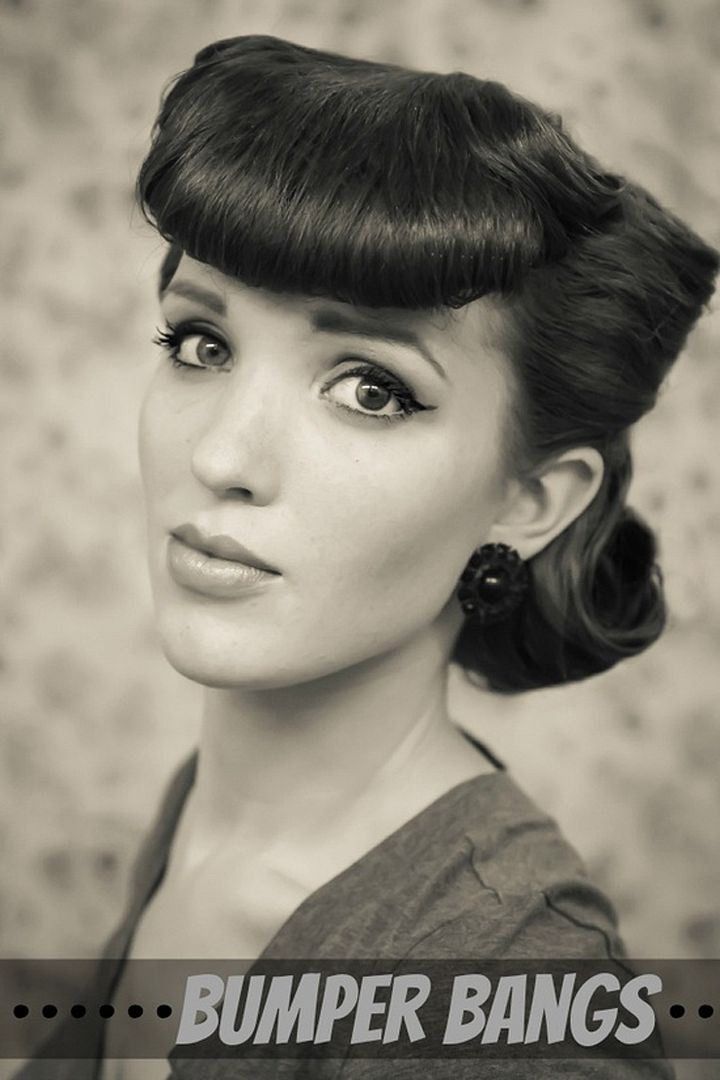
8) Bumper Bangs

My Favorite bangs list wouldn't be complete without these retro style bangs. I always wanted to try these and was always lost on how to do it! This tutorial is amazing!

http://www.freckled-fox.com/2013/02/sweetheart-hair-week-tutorial-4-bumper.html
Photobucket

FOLLOW COCOROSA ON INSTAGRAM BLOGLOVIN' FACEBOOK AND TWITTER

Saturday, January 26, 2013

Favorite Knotted and Twisted Updo Tutorials

Photobucket
Images via pinterest

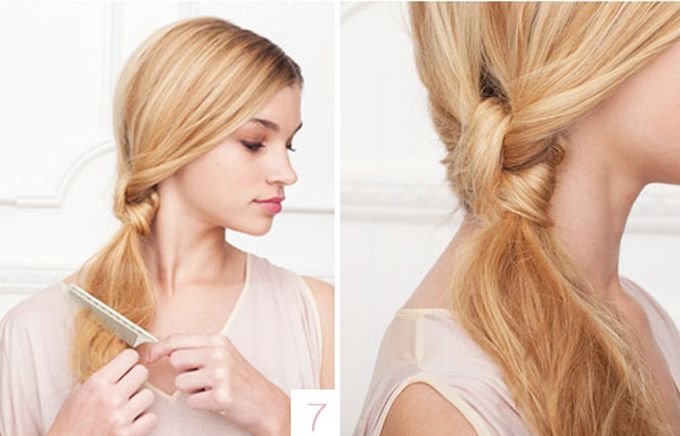
I often wear my hair in easy on-the-go buns (as I like to call them) and I always like to try new things to add just that little something of extra to an otherwise very ordinary thing. The knotted and Twisted bun and updo's give that bit of posh and glam to an otherwise easy hair-day and it's so easy to do with help of some bobby-pins! So alas, my favorite tutorials for when it comes to twisting and turning ;)
xoxo

1) Twisted Side Bun

You will need to translate the blog to read the full tutorial, but it is so worth it! I just love how the bun is low on the side!

http://blogg.veckorevyn.com/hiilen/2012/05/02/tutorial-bal-frisyr-sidoknut/

Photobucket


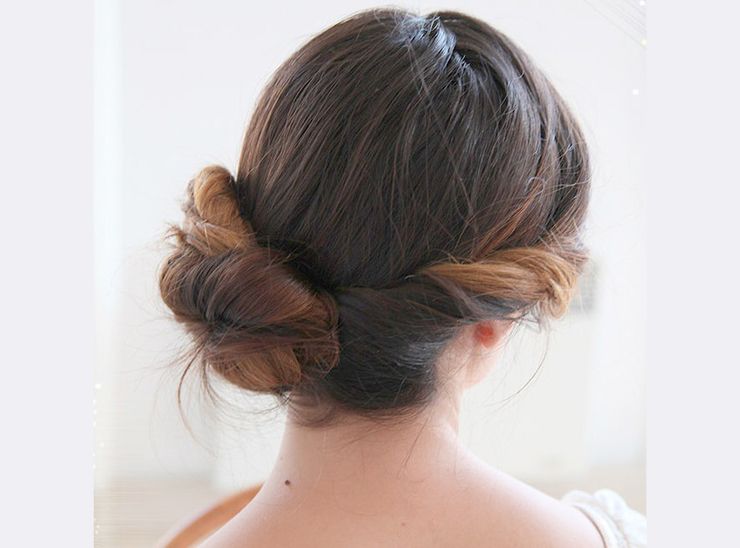
2) Low Twisted Bun

The low bun is just gorgeous and would make such a beautiful Winter look with snuggly jumpers!

http://www.sheletsherhairdown.com/2012/10/tutorial-wedding-chignon.html

Photobucket


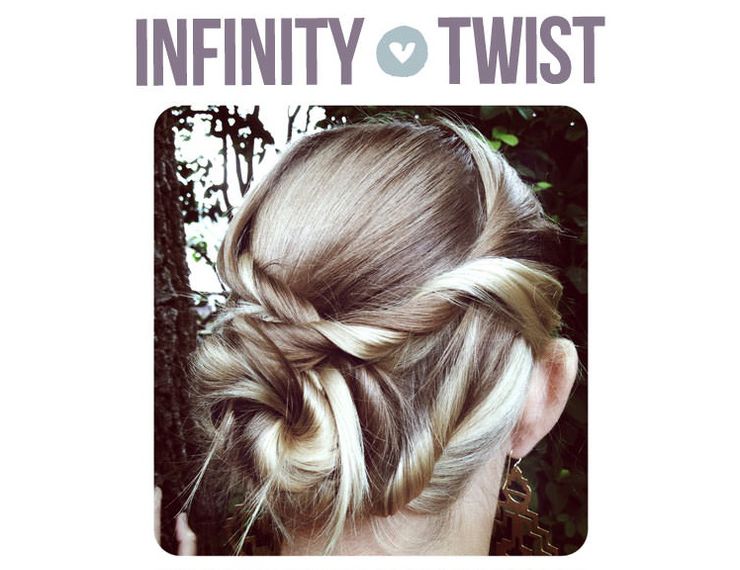
3) Infinity Twist

This updo is not as difficult as it seems, I just adore the ethereal twisting!

http://www.latest-hairstyles.com/tutorials/infinity-bun.html
Photobucket


4) Fishtail Bun

The twisted fishtail braid makes for such a great low bun and I love the volume!

http://www.oncewed.com/65628/wedding-blog/diy-wedding/fishtail-bun-wedding-hair-tutorial/

Photobucket


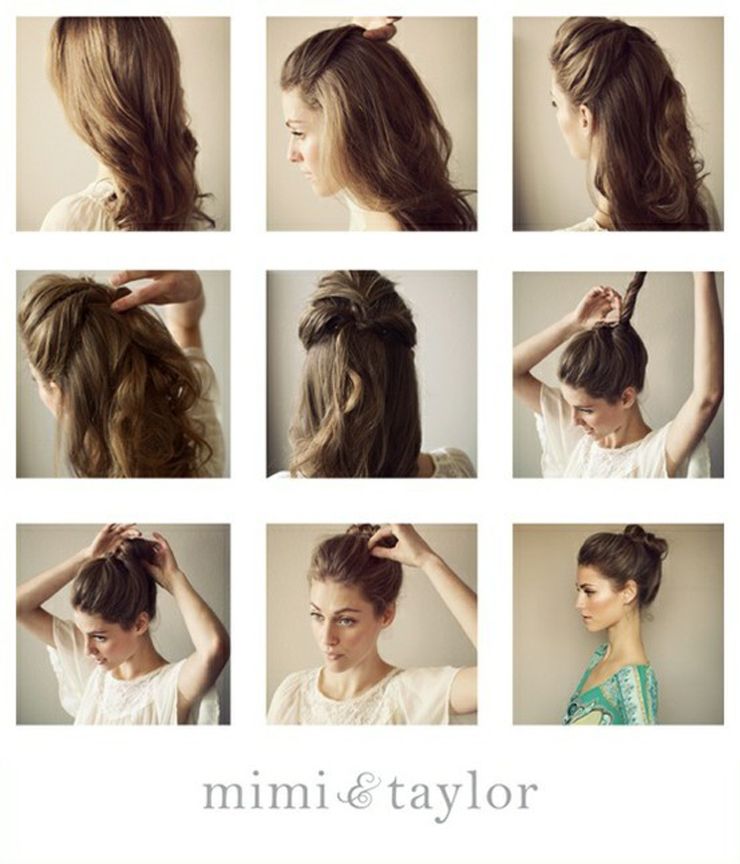
5) Sophisticated Bun

A beautifully sophisticated updo made for classic looks such as the LBD and winged eyes!

Mimi&Taylor (doesn't link to the tutorial)
Photobucket

FOLLOW COCOROSA ON INSTAGRAM BLOGLOVIN' FACEBOOK AND TWITTER
Saturday, January 12, 2013

Favorite Tutorials ~ Overview

Photobucket
collage via weheartit

I just love Tutorials! Nothing beats some weekend quality Tutorial time whether it are Hair and Beauty tutorials or Home Decor, I collect them religiously and have so much fun doing so! Every minute not spend on making Fashion Blogger Top 10s is spend on browsing for Tutorials, searching for the perfect Cat Eyes, 60s Hair and Home Decor finishing touches!
xoxo 

Here are my favorite Tutorials; an overview of all my posts done so far!

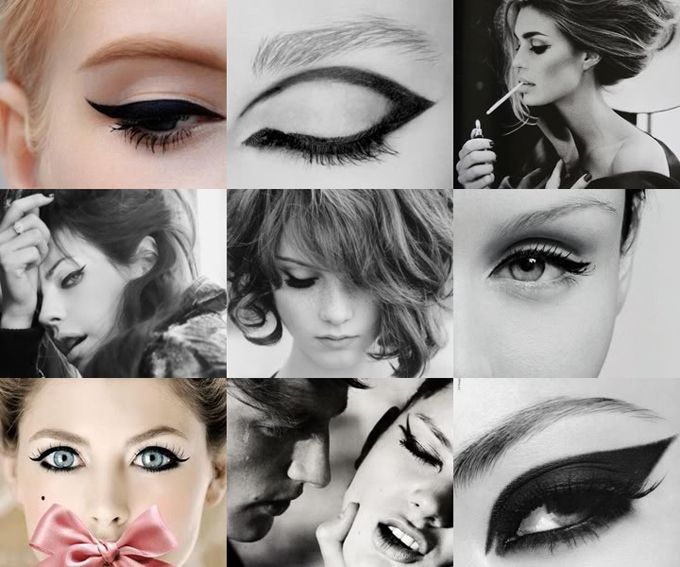
1) Favorite Cat Eye Tutorials

I am a sucker for winged 60s Cat Eyes! and I just love to spend quality time practicing my favorite looks! The Cat Eye is such a classic and I had so much fun collecting all my favorite Tutorials!

http://mypreciousconfessions.blogspot.nl/2012/11/favorite-cat-eye-tutorials_17.html

Photobucket


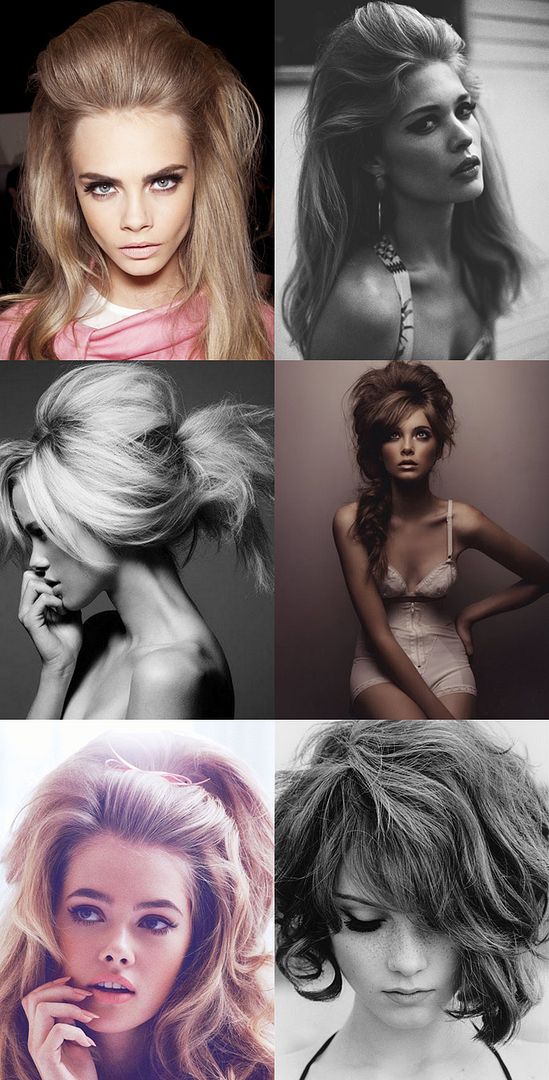
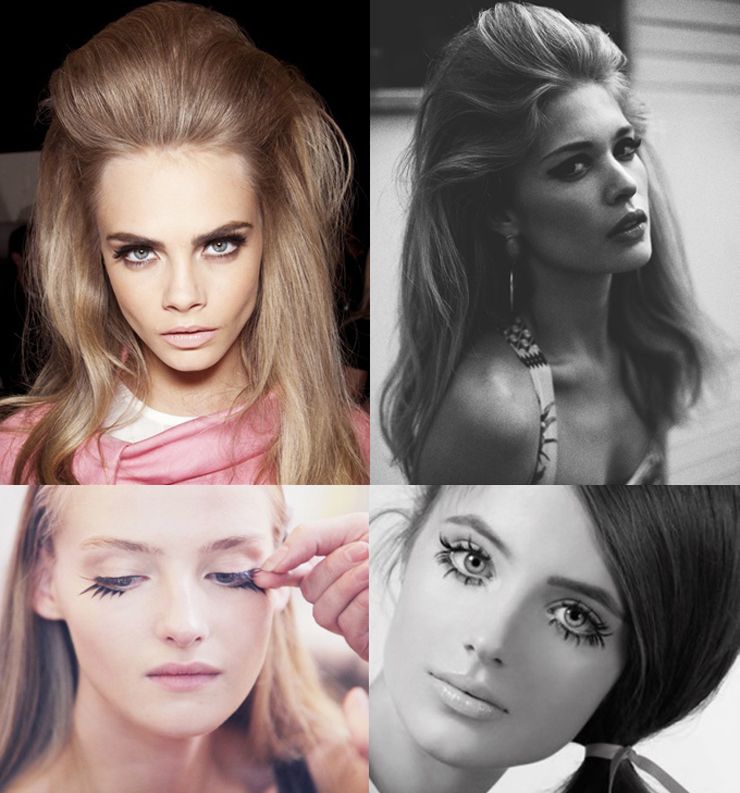
2) Favorite Big Hair Tutorials

There is just something about Big Beautiful Hair weather it's a beaut 60's updo or just full long locks, I can't get enough of it!


Photobucket


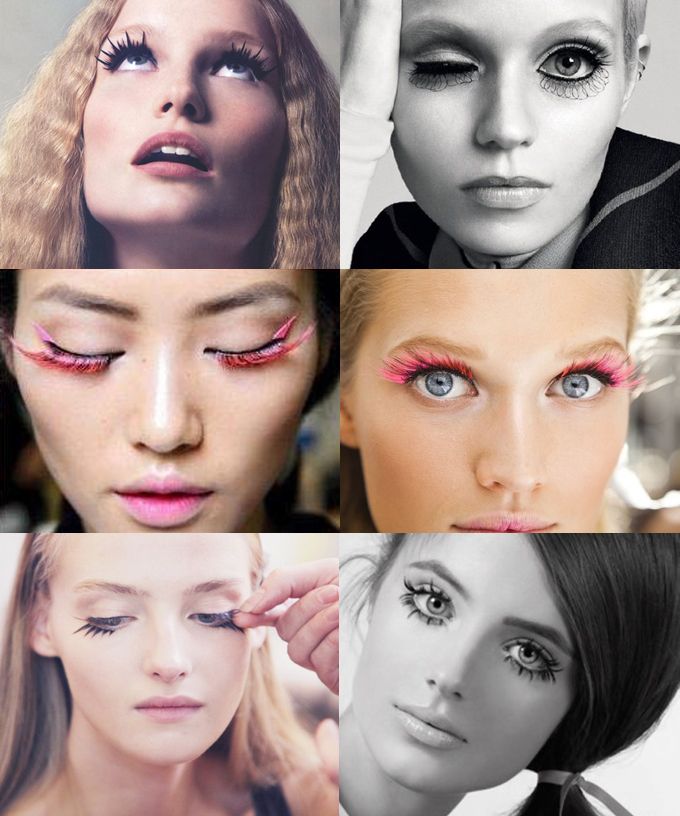
3) All About Lashes

All I want is having long batting lashes! I found it quite hard to find the tutorials for the looks I wanted but did came across some of the best tips and tricks and plenty of inspiration!


Photobucket


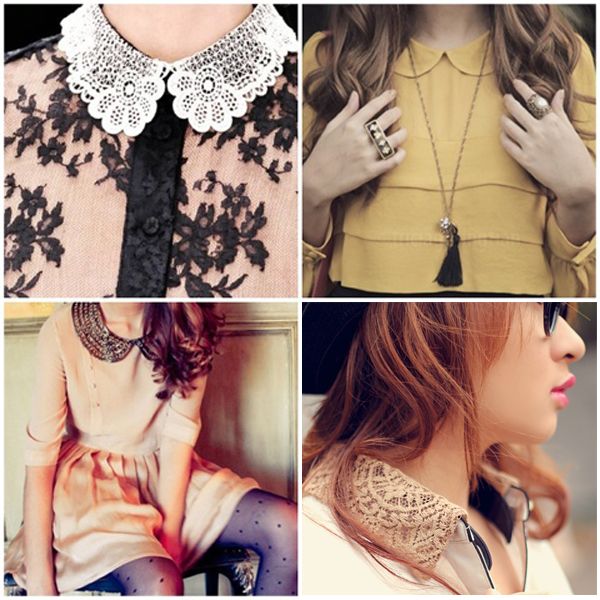
4) Favorite DIY Collars

There are Tutorials that just transform and brighten any (rainy) weekend! and these are it! The DIY collars are quite easy and a lot of fun to make, perfect for a girls-quality-weekend, movies, food and DIY's!


Photobucket


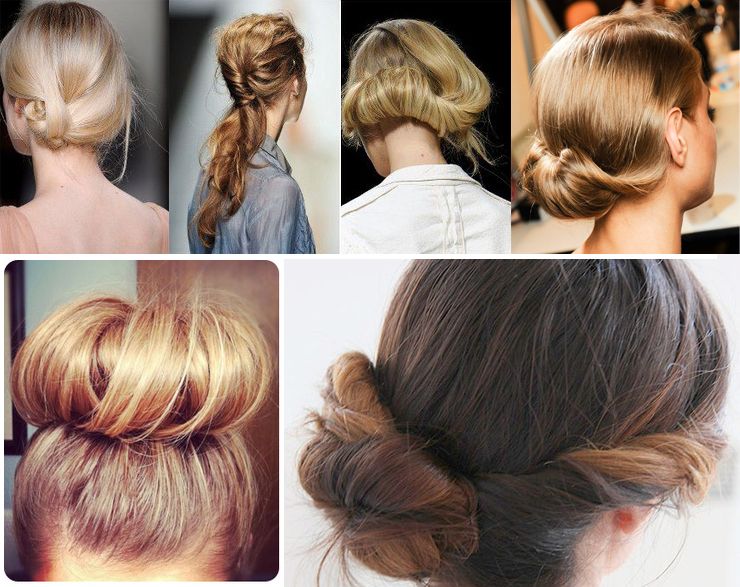
5) Favorite Hair Tutorials

Some of my all time favorite hair Tutorials involve those looks that are perfect for everyday like braided buns and sloppy updo's!


Photobucket


6) Favorite Holiday Tutorials

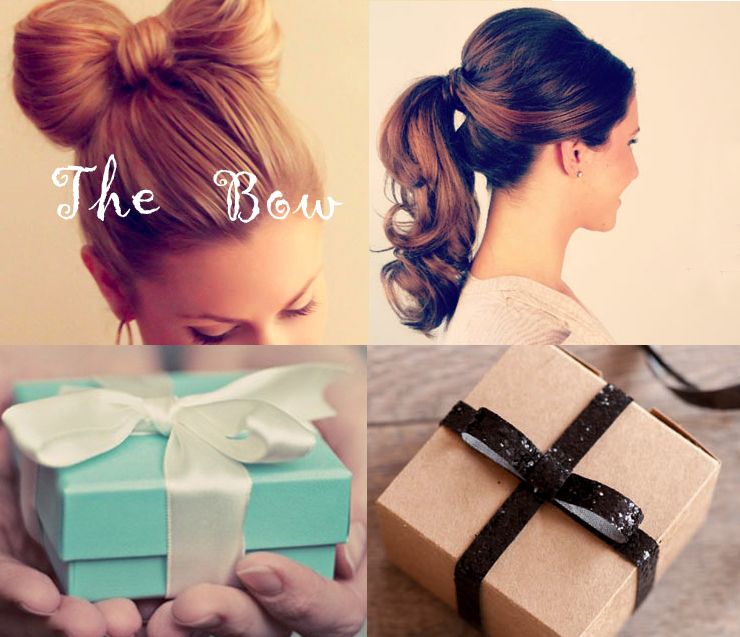
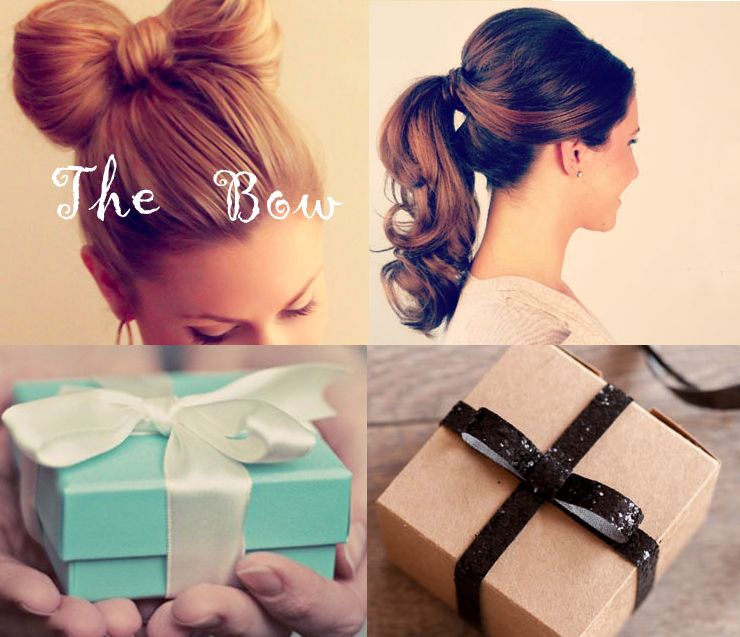
My Favorite Holiday Tutorials are not only perfect for the Holiday season but for every festive occasion, Birthday Parties or just Parties. period! I just love bow inspired hairstyles and love personal gift wrapping!


Photobucket


7) Favorite Glam and Glitter Tutorials

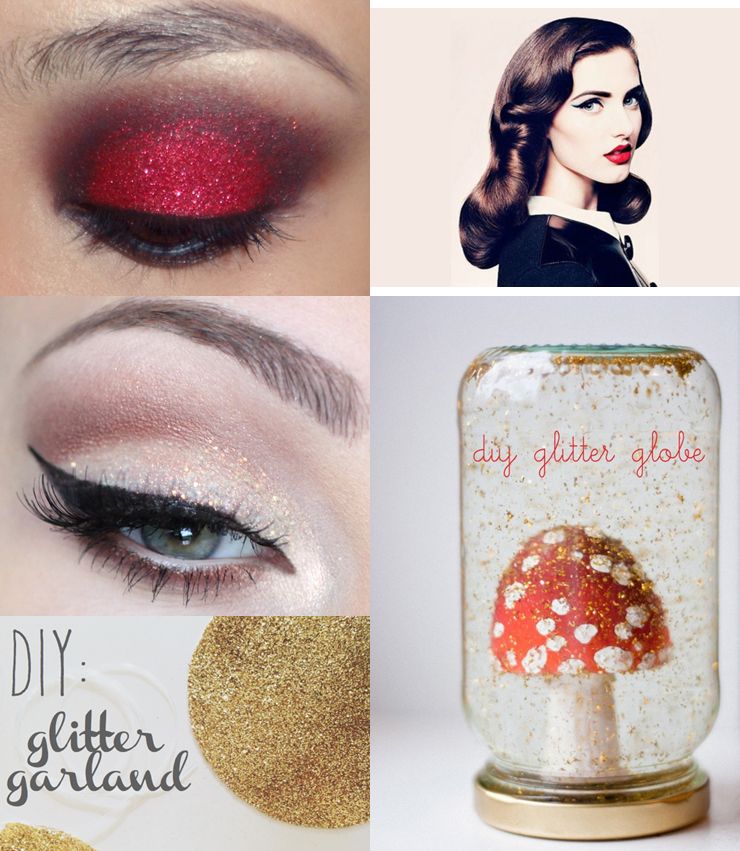
Some days just need some sparkle, sparkly, glitters and glam! These tutorials are really my personal happy makers and infuse every day with some shine!


Photobucket


8) Big Curly Hair Tutorial

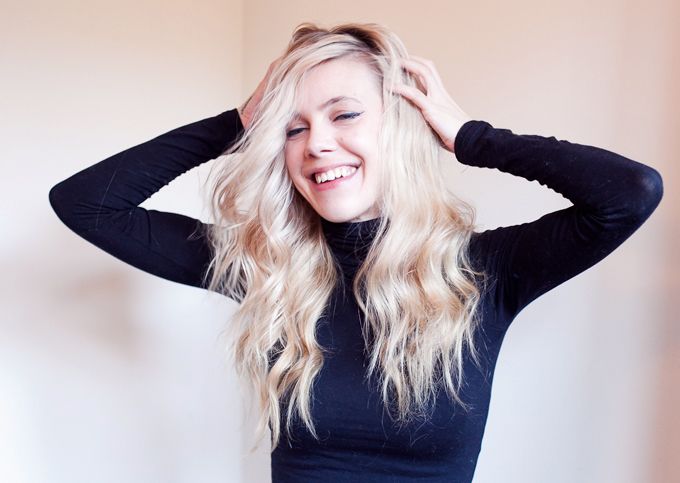
I have fine and thin hair myself but have finally learned some big-do tricks myself and it has become a daily routine! This is my own hair tutorial!


Photobucket


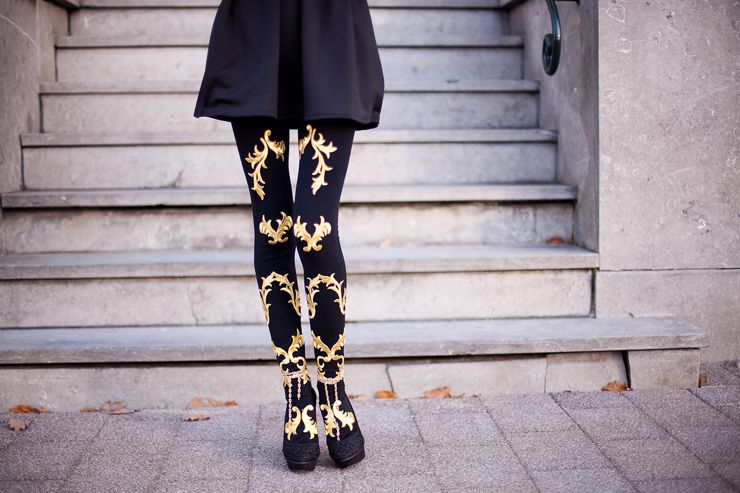
9) DIY Baroque Tights Tutorial

The last Tutorial on this list are my DIY Baroque Tights! The Baroque trend is such a DIY pleasure, the Baroque Motifs are perfect for every item (tights, baseball caps, skirts, sweaters, necklaces, collars etc etc) and that makes this trend so much fun!


Photobucket

FOLLOW COCOROSA ON BLOGLOVIN' FACEBOOK AND TWITTER
Saturday, December 15, 2012

Favorite Holiday Tutorials

Photobucket
photos by Running on Happiness, the Beauty Department, ShannonPix fine art photo (great last minute presents!) and the sweetest occasion

With the Holiday's around the corner I thought it would be a great time to share my all time favorite Holiday Tutorials going from my favorite Holiday hair-do's to Gift Wrapping (I just love gift wrapping) and even one tutorial that would make that perfect very special gift!
Hope you have a lovely weekend!
xoxo

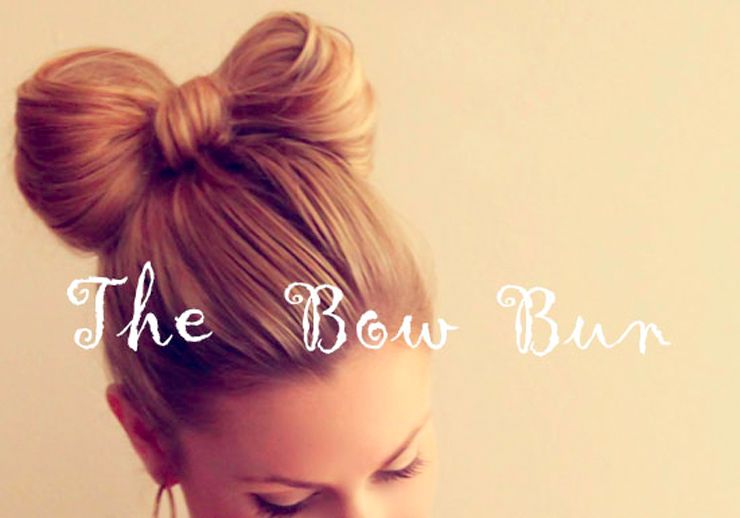
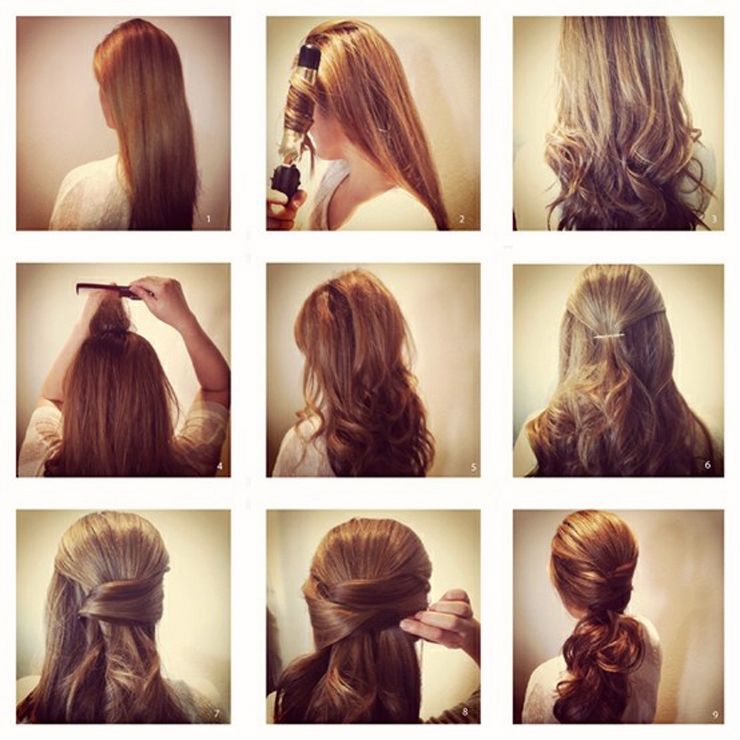
1) The Bow Bun

I cannot think of a better occasion then the Holiday's for this amazing Bow Bun! I love it and the Tutorial is amazing!


Photobucket


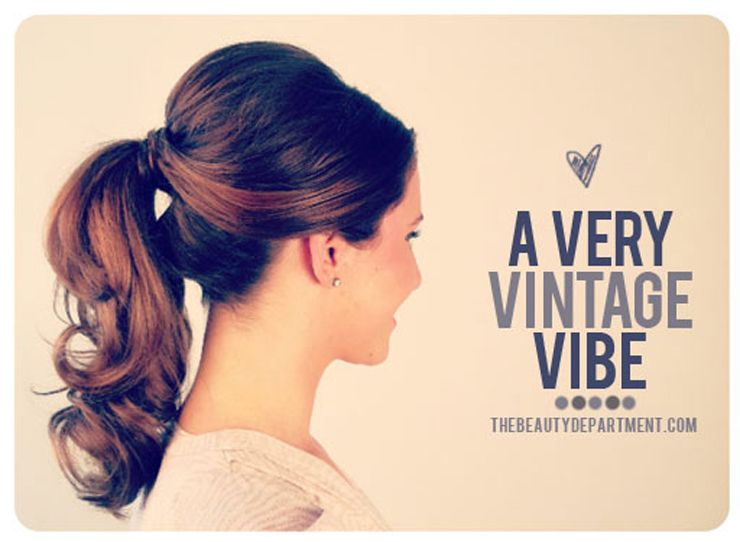
2) A very Vintage Vibe

The Beauty Department never fails when it comes to perfect hair tutorials and this is one of my Holiday favorites! The 1950's inspired ponytail!

http://thebeautydepartment.com/2012/09/1950s-inspired-ponytail/
Photobucket


3) Lush Low Ponytail

This is such a beautiful and classic hair-do for the Holidays! I really would like to know the original credits since I doubt the source where I found it and I would really like to know how to do these last few steps in the tutorial!

http://fashionworship.com/2069/
Photobucket


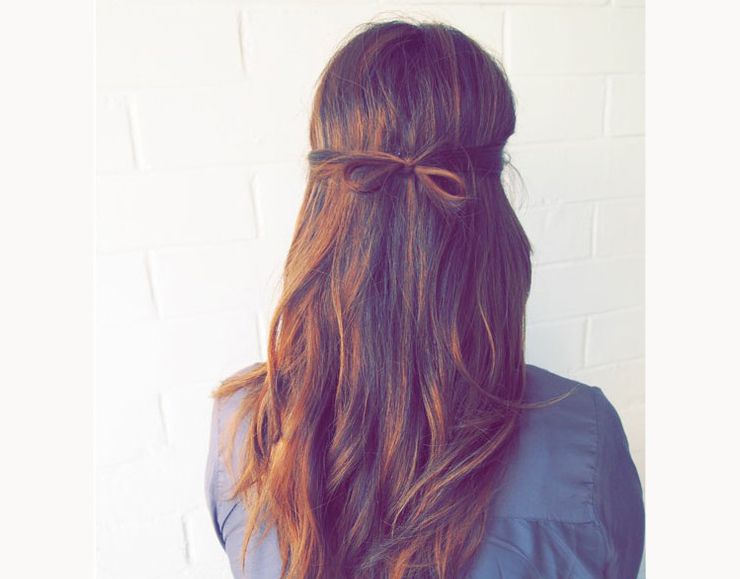
4) Tiny Bow

The Bow Bun a bit too much Bow for you? I really love the tiny detail of this simple bow from We see Rainbows! It's just delicious!


Photobucket


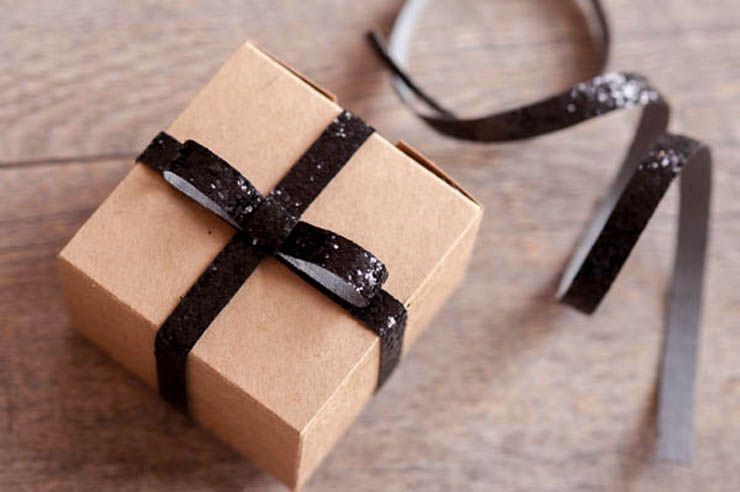
5) Sparkly DIY Giftwrap

The Sweetest Occasion comes with an amazing Sparkly Ribbon DIY! I have to say that when it comes to gift wrapping this website has really a lot of amazing tutorials and they are really all worth checking out!! 


Photobucket


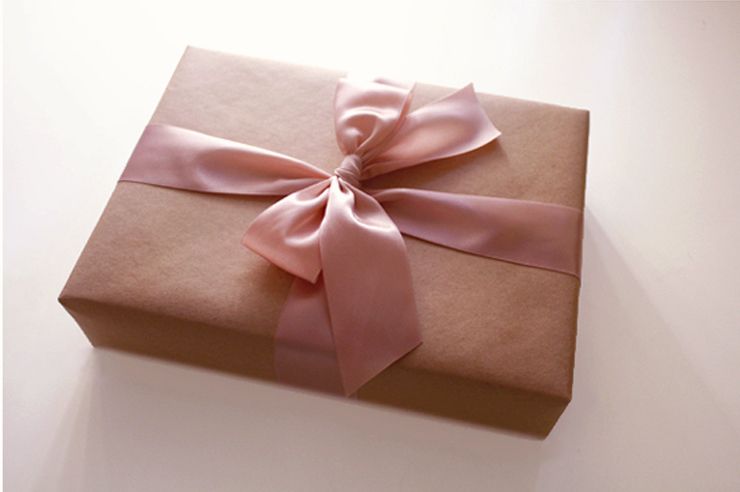
6) How to make a Perfect Bow

Maybe you are already blessed with perfect bow making skills but I am most definitely not! Flights of Fancy's Bow gift wrapping tutorial is simple but ohhhhh so perfect!!


Photobucket


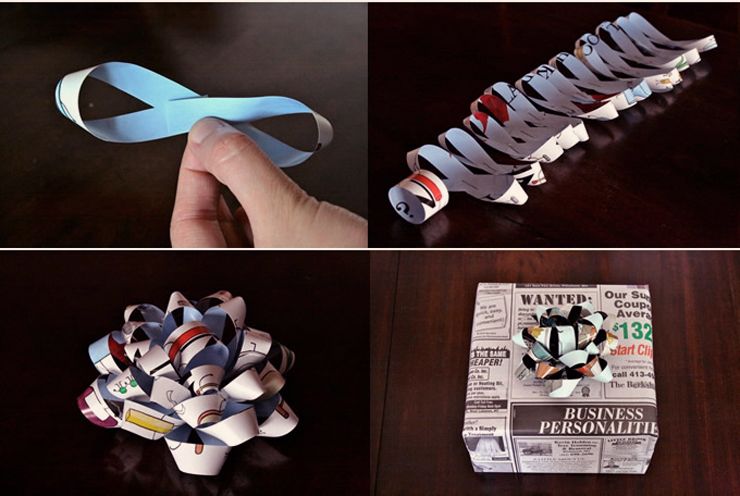
7) DIY Paper Bows

Milomade has this amazing tutorial on how to make your own paper bows out of magazine-and-recycled paper!


Photobucket


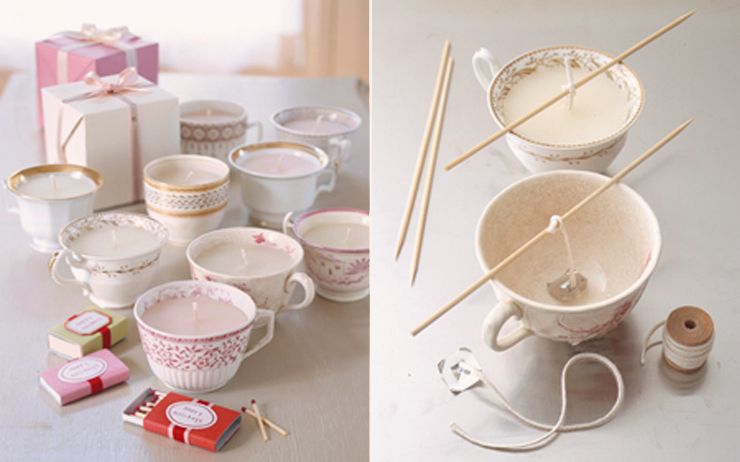
8) DIY Teacup Candles

And last but not least for that perfect little gift; Martha Stewart's DIY Teacup Lights!

http://www.marthastewart.com/273016/teacup-lights

Photobucket

FOLLOW COCOROSA ON BLOGLOVIN' FACEBOOK AND TWITTER
Wednesday, November 21, 2012

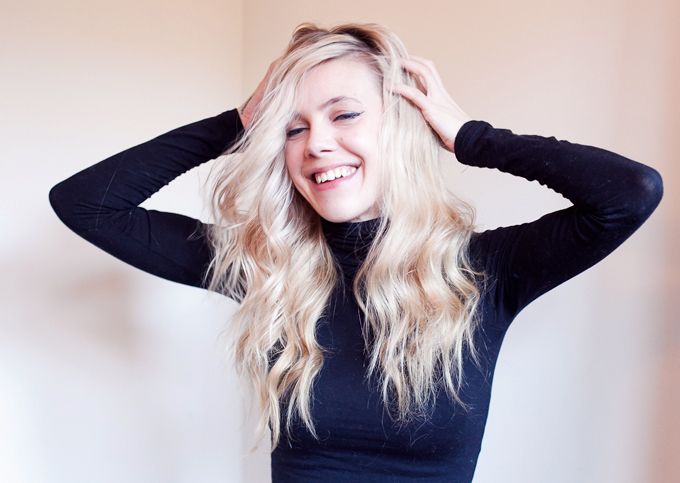
My Big Beautiful Curly Hair Tutorial

Photobucket

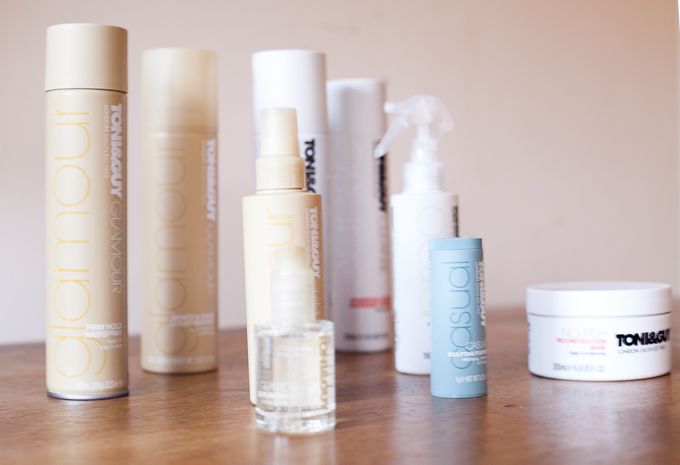
So Many have asked me for a Hair Tutorial of my Big Curls so here I go! The team behind Toni&Guy have send me an arsenal of new products to fine tune my look even more (meaning more volume and a healthier Shine without a hair-sprayed look)

What you absolutely need for this Tutorial: Mouse, Toni&Guy Sculpting Powder, Curl Iron, Hair Spray, All other Products are a big plus to fight frizz and give you that Glamorous Shine!


Photobucket
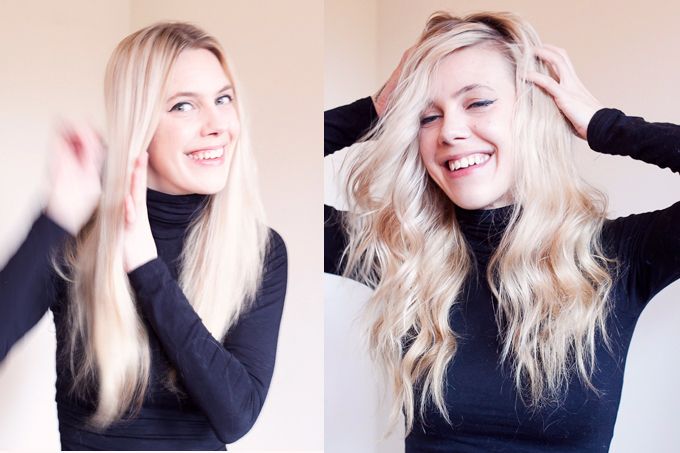
before and after


1) Prep Your Hair


First things first, the best way to start a good-do is to really prep your hair.
I started by washing my hair with Toni&Guy Shampoo for Damaged Hair and using the Toni&Guy Reconstruction Mask for overall well taken care off Hair!

Very important: On damp towel-dried hair I used the Spritz&Shine liquid Mouse, work in a small amount from root to tip, after I blow dried my hair. The Mouse gives my hair the perfect body and shine to start with! Plus it really helps with the curls!

Last but not least I applied a few drops of Toni&Guy Shine&Anti-Frizz serum drops to the mid-lengths and ends of my Hair and the Toni&Guy Moisturising Shine Spray for a last polish.


Photobucket
All my Toni&Guy goodies!


2) Sculpting / Volume Powder

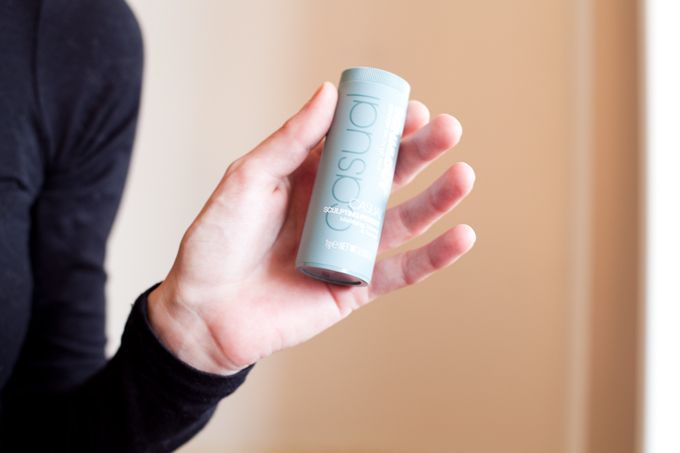
My absolute favorite Hair product in the world! I have been writing about it before and absolutely key to this tutorial since I'm really against teasing my hair!

Toni&Guy Sculpting Powder comes in a small blue tube and combats grease and creates Volume and Shape! I dust the powder directly at the roots and work it through with my fingers (I kind of massage the dusted root area so to speak)


Photobucket


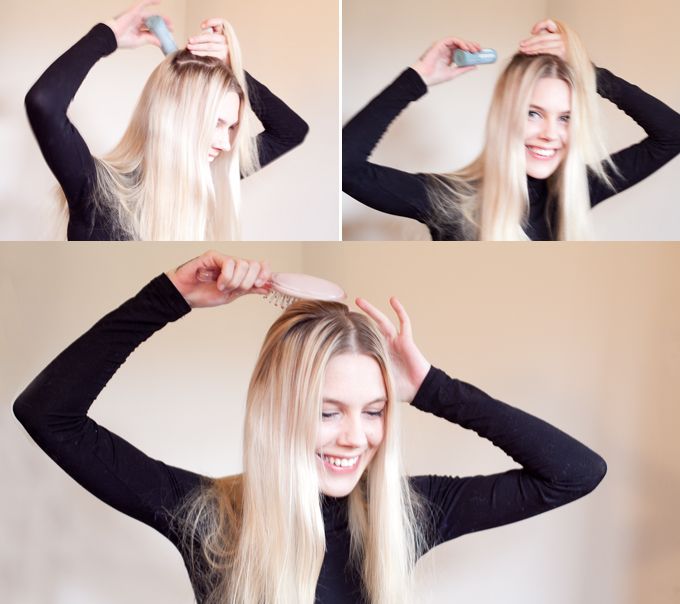
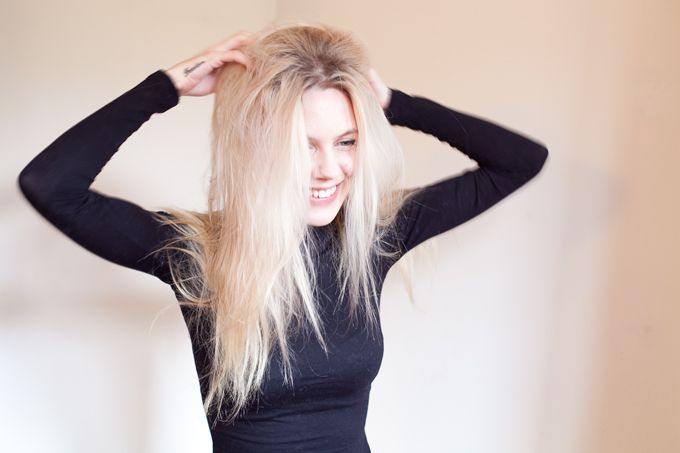
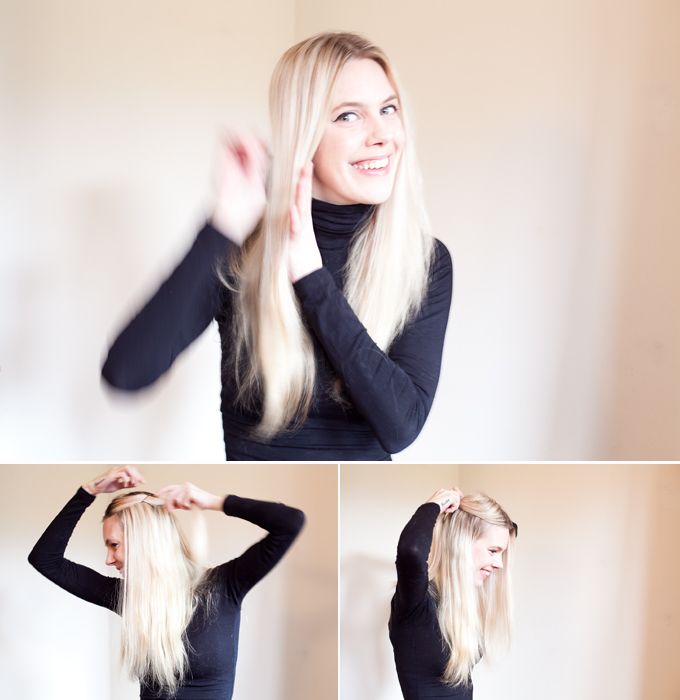
I first part my hair in a crown section and 2 front sections. (think a Bouffant or Brigitte Bardot)
Instead of teasing the hair at the crown as done in a Bouffant I use the Sculpting Powder to dust a layer at the roots (work in a horizontal strip!) then I part the hair half way (between the Crown and to where I hold the hair) and dust another strip! I also dust at the foremost section of where my "bouffant" starts! Last I gently flip my hair back using a brush or fingers. 

(Seriously, don't worry about messing this part up! Just think "Brigitte Bardot" and apply the powder at the roots where you would otherwise tease your hair!)


Photobucket


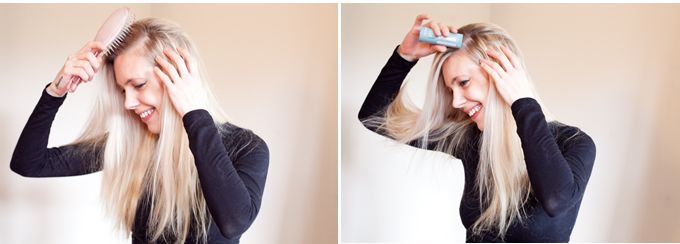
I now start to dust the front left and right parts/sections of my hair with the Sculpting Powder!
I first dust the roots in the middle section (work vertical, from the front to the back) and then I dust the roots in 2 (or 3) sections on either side! I part my hair with my fingers or using a comb or brush, don't worry about making neat side-sections, I do it very sloppy myself!

(Again! Seriously, don't worry about messing this part up! Just think "Brigitte Bardot" and apply the powder at the roots where you would otherwise tease your hair!)


Photobucket


Now the Fun Part! gently Scruntch/ Massage the roots of your hair where you applied the powder, you should get a full blown Brigitte Bardot look! Without Teasing!

See, Brigitte Bardot ;)


Photobucket


3) Curl your Hair


Gently brush or comb your hair but don't comb or brush your roots through (where you dusted the Sculpting Powder) also don't worry about the volume, you will scrunch it back later! 

Pin the front sections of your hair to the side or up since we are going to curl them last, also before curling prep your hair with a heat protector! I used the Toni&Guy Heat Protection Mist!

Photobucket


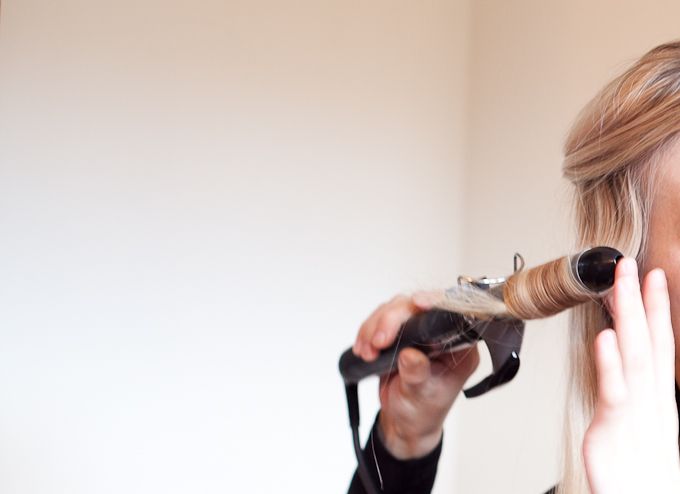
Start curling, it doesn't matter if you start curling on the right or left side of your hair as long as curl going outward! (see close-up pic) I also keep my tips/ hair ends outside of the clamp, I don't curl them since the hair ends would damage quickly because of the heat!

Photobucket

After curling the locks you can use Hair Spray on each individual lock or Spray the locks all together as you please! But you have to use Hair Spray to set the curls! I used Toni&Guy Firm Hold Hairspray. 

Now we start to curl the front locks that were pinned to the sides, after curling these I spray all the locks again!

Photobucket


4) Brush-Out the Curls


Let the hair spray set just a little bit, make sure it's dry.
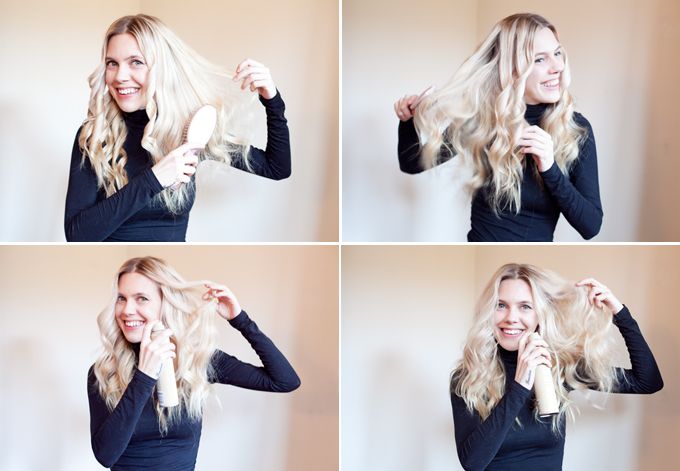
We will now start Brushing out the curls! After Brushing I use Hair Spray in between and on the curls while I hold my hair up, this gives me loads of volume! Kind of setting the big fly-away fluffed up Curls!


Photobucket


5) The Side-Bang and Finishing Touch


I guess you could have made the side part before but I kind of like doing it last since I want to get it perfect while having that spontaneous fly-away feel!
I basically just flip a random side part over the either left or right side (whatever looks best on your face), this way I can really control how these locks will fall plus if really necessary I curl the side-lock-bang again (totally cheating, I know) When the side bang looks the way I like I use Hair Spray to set it although I don't really spray at my roots to keep that soft natural look and feel!


I massage the hair roots again for our Brigitte Bardot volume and use very very sparingly the Moisturising Shine Spray to areas where the fluffed up curls turned matte and scrunch them up again. 

I never ever use the Shine (Gloss) Spray near the top/roots since the Shine/Gloss tends to weigh down your hair! After glossing I use hair spray again!

Photobucket


6) Finito!


Et Voila! 
Big Beautiful healthy looking hair with volume at the roots! You can scruntch/massage the roots of your hair during the day to re-vamp that volume!

You can find out more about all the Toni&Guy products here!

Photobucket

FOLLOW COCOROSA ON BLOGLOVIN' FACEBOOK AND TWITTER